Copyright © 2007, 2012 Steffen Macke
Permission is granted to copy, distribute and/or modify this document under the terms of the GNU Free Documentation License, Version 1.1 or any later version published by the Free Software Foundation with no Invariant Sections, no Front-Cover Texts, and no Back-Cover Texts. You may obtain a copy of the GNU Free Documentation License from the Free Software Foundation by visiting their Web site or by writing to: Free Software Foundation, Inc., 59 Temple Place - Suite 330, Boston, MA 02111-1307, USA.
CSS stylesheets referenced in this document and graphics referenced in those stylesheets are not part of this document and covered by a different license.
$Date: 2012/05/22 08:53:32 $
Table of Contents
This document describes (step by step) how to add a custom shape to Dia.
Dia is a diagram editor. More information about dia can be found on the dia homepage, http://live.gnome.org/Dia.
Dia for Windows is available from http://dia-installer.de.
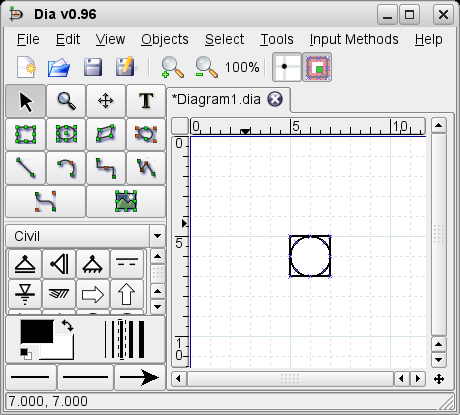
Just draw your shape in Dia like you draw a diagram.
![[Tip]](images/tip.png) | Tip |
|---|---|
You can also use other tools such as Inkscape to draw your shape, save it in the SVG format and import it to Dia. |
The following will illustrate how to add a pre-silo shape to the Civil Engineering sheet. A pre-silo shape is just a square box with a circle drawn inside. Draw your shape in Dia as shown in Figure 1, “Pre-silo shape in dia”.
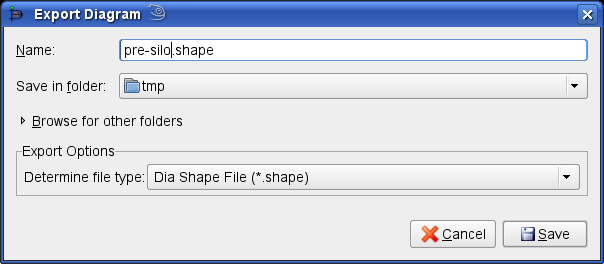
Select → from the menu to open the diagram export dialog (Figure 2, “Export diagram dialog”).
Select Dia Shape File (*.shape) as the file type.
| Tip |
|---|---|
Advanced users can use the option By extension and specify the |
Provide a meaningful name for your shape (pre-silo.shape in this example) and remember the folder in
which you are saving the file.
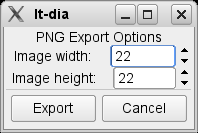
You will be asked for the resolution of the icon that will be used in the Dia toolbar. While you are free to select a resolution yourself, it is suggested that you use 22 pixels as the height like all the shapes that are included in the main Dia distribution.
| Tip |
|---|---|
If possible, also try to use the a width of 22 pixels for your icons. |
If you are following the example, specify a width of 22 pixels and a height of 22 pixels in the dialog (Figure 3, “Shape icon resolution”).
Once you have created a shape, you can add it to a sheet.
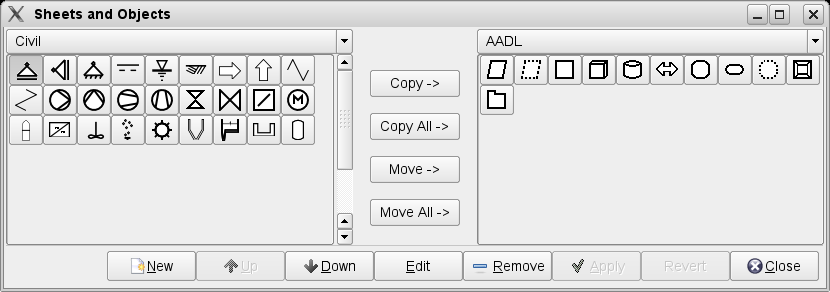
Select → from the menu to open the Sheets and Objects dialog.
| Tip |
|---|---|
You can press F9 to open the Sheets and Objects dialog. |
In the left drop-down, select Civil to see the existing Civil Engineering sheet as shown in Figure 4, “Sheets and Objects dialog”.
To add the new shape to the sheet, click on the button - a new dialog will be opened (Figure 5, “Empty new shape dialog”).
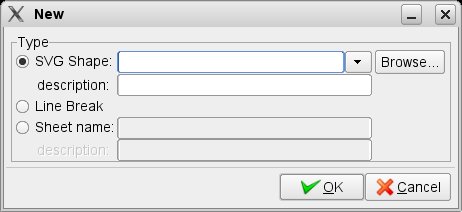
In the new dialog, click on the
browse button to select the location of the new shape file. A file
selection dialog will be opened. Browse to the new shape file and
select it. For the example, pre-silo.shape has
been selected in Figure 6, “Select SVG Shape File”.
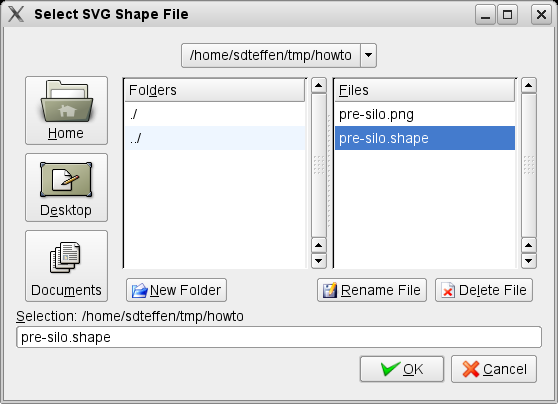
Click the to close the file selection dialog.
Fill in a description for the new shape. Your dialog box should look now similar to Figure 7, “Filled new shape dialog”.
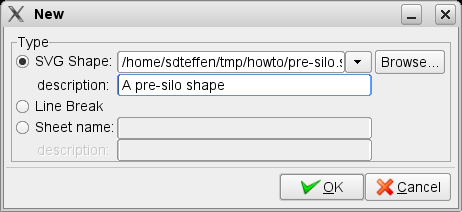
Click on the button to close the dialog.
Congratulations! You've added a shape to the Civil Engineering sheet, which should look now like the one in Figure 8, “Updated Sheets and Objects dialog”.
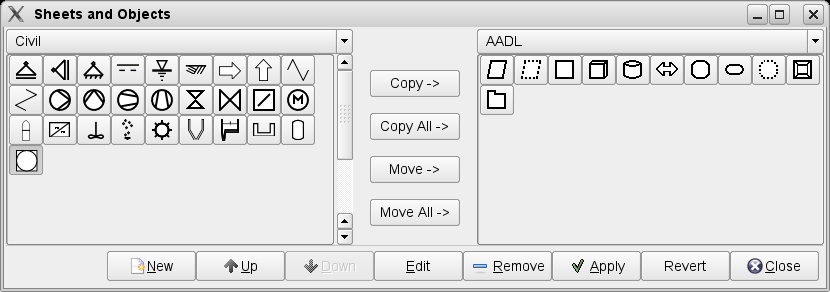
Click on the button to close the Sheets and Objects dialog and start a new diagram. You can add your newly created shape to this diagram.
You can use the same approach to add new shapes to existing sheets. Note that the shape will be added to the left sheet in the Sheets and Objects Dialog.
In the Sheets and Objects Dialog click on the button and switch the radio button to "Sheet name:" as shown in Figure 9, “Create a new sheet”.
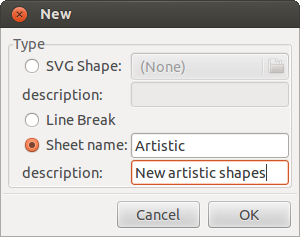
Enter the new sheet name and description. Click .
Consider sharing your shapes with others, e.g. by sending an email to
<dia-list@gnome.org>, adding it to a website, etc. The best way
to do this is to create a new enhancement bug in Dia's bugtracker,
http://bugzilla.gnome.org.
Note that you have to agree to place your shapes under the terms of GPL, if you would like to have your shapes included in the Dia distribution.