Table of Contents
This document describes (step by step) how to compile Dia on Windows, Mac OS X and Ubuntu.
Dia is a diagram editor. More information about dia is available from http://dia-installer.de.
The Dia Development VM allows to compile the latest Dia version using a single mouse click. The VM uses Ubuntu and is available from http://dia-installer.de/developer/.
This section describes how to compile Dia for Windows using Microsoft Visual C++ Version 6.0 and the GTK+ Development Environment.
Understanding the folder structure is helpful especially when unzipping developer packages:
    	c:\gtk
    	     |
    	     +---bin
    	     |
    	     +---include
    	     |
    	     +---lib
Sometimes the zip files contain the bin,
include and lib
inside another folder. While unzipping, make sure that their contents
end up in c:\gtk\bin,
c:\gtk\include and
c:\gtk\lib.
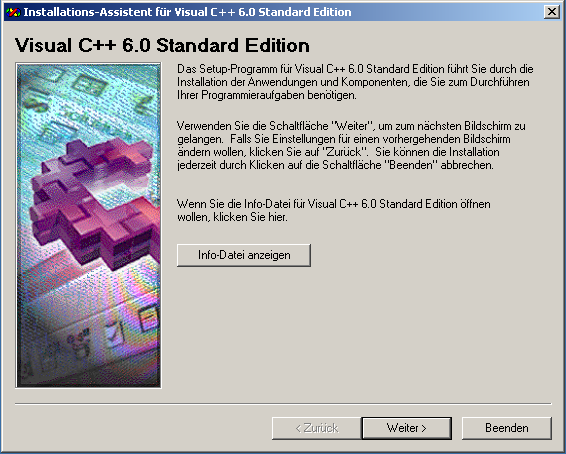
Start the Visual C++ Installation Wizard (Figure 1, “Visual C++ 6.0 installation wizard”) and click .
If you agree to the license (Figure 2, “Visual C++ license dialog”), put the checkmark and click .

Enter the registration information in the form (Figure 3, “Visual C++ product ID dialog”) and click .

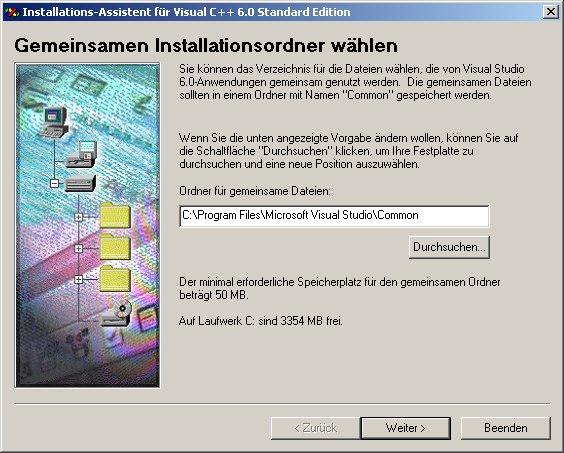
When asked for the installation location (Figure 4, “Visual C++ installation location”), choose
c:\Program Files\Microsoft Visual Studio\Common and
click .
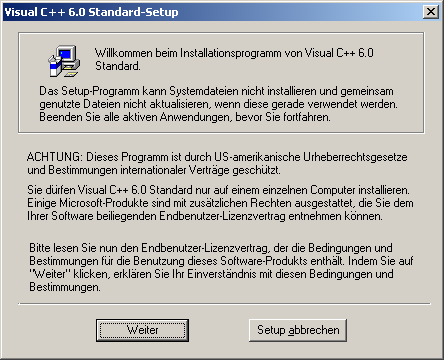
To continue with the installation processs (Figure 5, “Visual C++ standard setup”), click
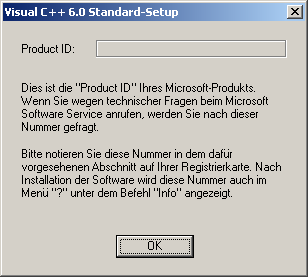
Note down the Product ID (Figure 6, “”) and click .
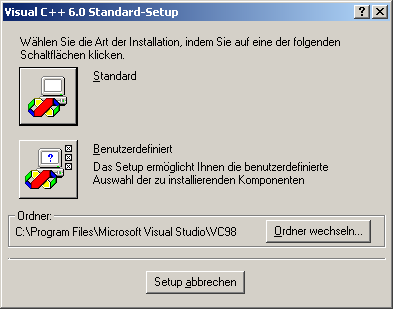
When asked for the setup type (Figure 7, “Visual C++ setup type”), click on the button.
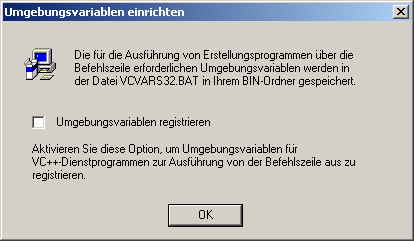
When asked to register the environment variables (Figure 8, “Visual C++ environment variables”), you can leave the option to register the environment variables unchecked, though it does no harm to check this option. Click
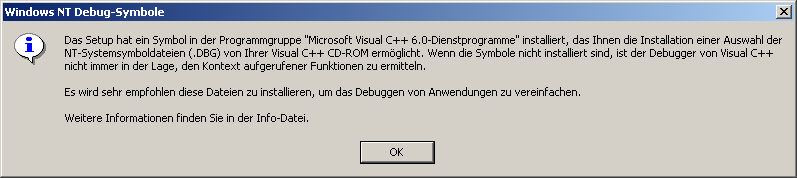
Read the information about the NT debug symbols (Figure 9, “NT debug symbols”) and click .
Note that the Visual C++ setup has finished successfully (Figure 10, “Visual C++ setup success”) and click .
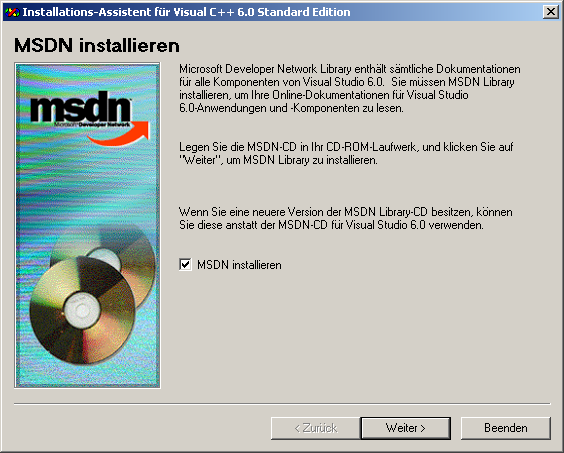
Start the MSDN setup (Figure 11, “MSDN Library setup dialog”) and verify that the option to install MSDN is checked. Click .
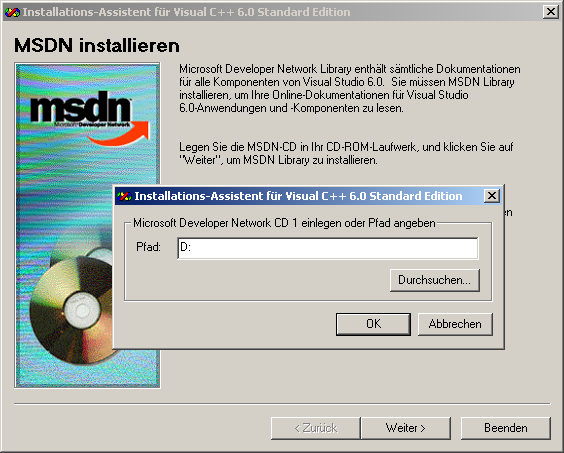
Enter the path of your CD-DROM drive (Figure 12, “CD-ROM drive selection”) and click .
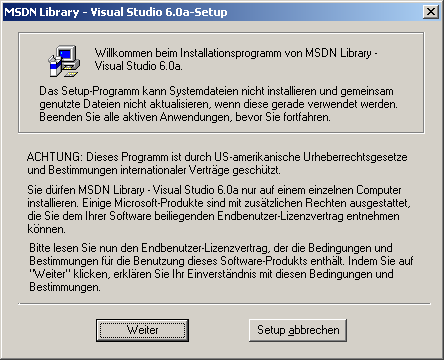
If you agree to the license terms (Figure 13, “MSDN Library setup”), click .
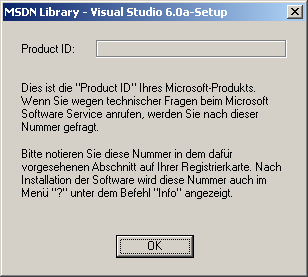
Note down the Product ID shown in Figure 14, “MSDN Library Product ID” for future reference and click .
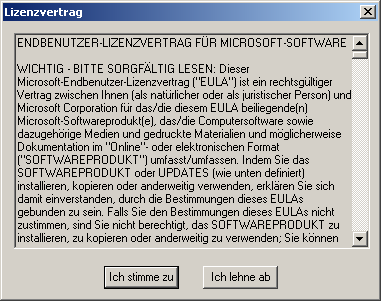
If you agree to the license terms (Figure 15, “License terms”), click .
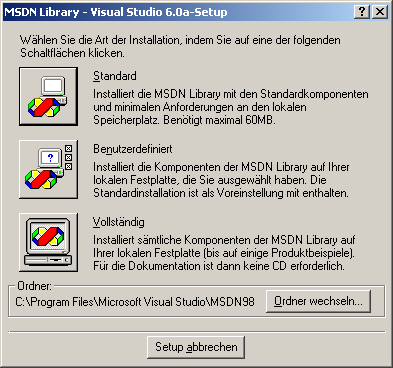
When asked for the installation type (Figure 16, “MSDN Library installation type”), click on .
When the MSDN Library setup is complete (Figure 17, “MSDN Library setup complete”), click .
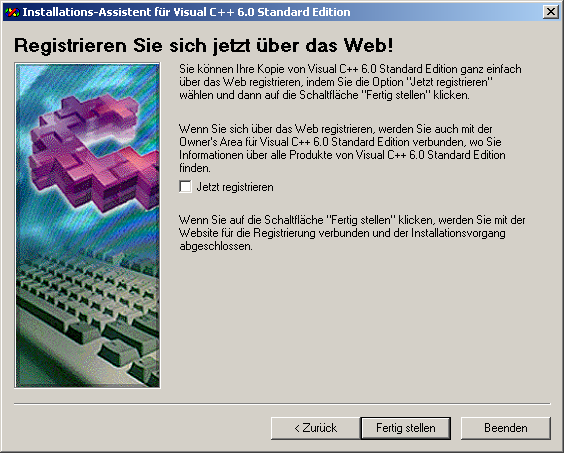
You may register your Visual C++ copy online (Figure 18, “Visual C++ registration”). Click to leave the installation wizard.
Download Visual Studio 6 Service Pack 6 can be downloaded from http://msdn2.microsoft.com/en-us/vstudio/Aa718364.aspx.
Start the Visual Studio 6 Service Pack 6 setup.
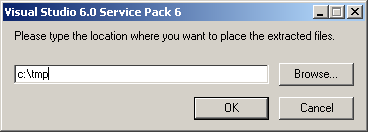
When asked for a location to place the extracted files (Figure 19, “Temporary files location”),
specify a temporary folder, e.g. c:\tmp. Click .
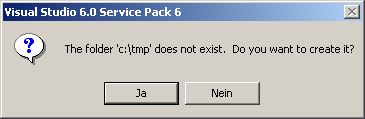
When asked if the temporary folder should be created (Figure 20, “Temporary folder creation”), click .
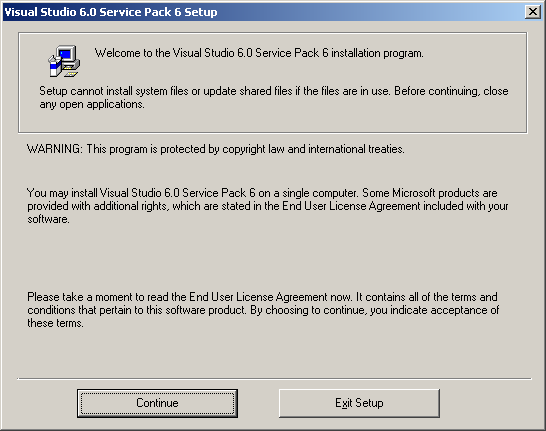
Start the Visual Studio 6.0 Service Pack 6 setup (Figure 21, “Visual Studio 6.0 Service Pack 6 welcome page”) from the temporary folder and click .
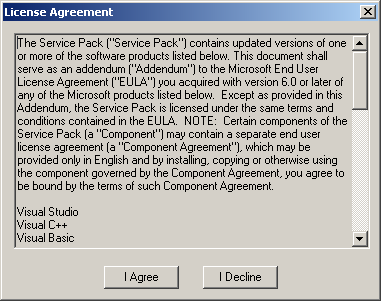
If you agree to the Visual Studio 6.0 Service Pack 6 license agreement (Figure 22, “Visual Studio 6.0 Service Pack 6 License Agreement”), click .
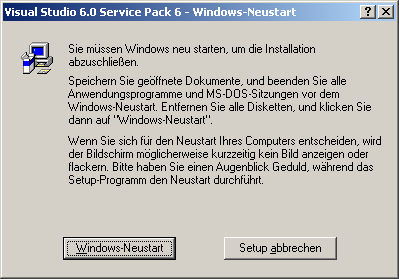
When asked for a Windows reboot (Figure 23, “Windows reboot”), click .
The GTK+ All-in-one bundle should be used and can be downloaded from Sourceforge.
Unzip the contents of the folder to C:\GTK.
Copy c:\gtk\bin\intl.dll to c:\gtk\bin\libintl.dll.
While glib includes its own copy of iconv, libxml2 requires a separate iconv installation.
The libxml2 iconv version can be downloaded from http://www.zlatkovic.com/libxml.en.html.
Unzip the file and copy the contents of the iconv-1.9.2.win32 folder to C:\GTK.
Download libxml2 from http://www.zlatkovic.com/libxml.en.html.
Unzip the file and copy the contents of the
libxml2-2.7.8.win32 folder to
C:\GTK.
The following software packages are optional, because they can be used to create the full Dia for Windows installer, but they are not necessary to just build the Dia binaries or compile a plug-in.
LibArt_LGPL is the graphics library used by Dia's libart plugin. It is available from http://ftp.gnome.org/pub/gnome/binaries/win32/libart_lgpl/2.3/.
Extract the contents of libart_lgpl-2.3.21-1_win32.zip
and libart_lgpl-dev-2.3.21-1_win32.zip to c:\gtk.
In case you don't want to compile the libart plugin, comment it out in plug-ins/makefile.msc.
Use the following script to create libart_lgpl_2-2.lib:
dumpbin /exports c:\gtk\bin\libart_lgpl_2-2.dll > c:\gtk\lib\libart_lgpl_2-2.dumpbin
echo EXPORTS > c:\gtk\lib\libart_lgpl_2-2.def
sed -n "/RVA/,/Summary/p" c:\gtk\lib\libart_lgpl_2-2.dumpbin | sed -n "/[0-9]/p" | sed "s/.* //" >> c:\gtk\lib\libart_lgpl_2-2.def
lib /def:c:\gtk\lib\libart_lgpl_2-2.def /out:c:\gtk\lib\libart_lgpl_2-2.lib /machine:x86
If you intend to build the Python plug-in, install Python 2.3 to
c:\python23.
Newer Python versions are not build against msvcrt.dll and thus require to rebuild all libraries that
Dia is linked against. Therefore building Dia with newer Python versions
is not covered by this document.
In case you don't want to compile the Python plugin and language
bindings, comment out
the nmake calls for the bindings and
plug-ins\python folders. Edit
c:\gtk\dia\makefile.msc as indicated by the comments
in the file (around lines 58 and 67).
The swig command is required to build the Python bindings.
Download swig from http://www.swig.org and unzip swig.exe and
the lib folder to C:\GTK\bin.
The LibXSLT library is used by the xslt plugin. Thus you won't be able to build the xslt plugin without LibXSLT.
Download libxslt from http://www.zlatkovic.com/libxml.en.html.
Unzip the file and copy the contents of the
libxslt-1.1.26.win32 folder to
C:\GTK.
In case you don't want to compile the xslt plugin, comment it out in plug-ins/makefile.msc.
The librsvg library is used to render SVG images as image objects. Note that librsvg is not used for the SVG import, SVG export or the Dia shapes.
Download librsvg-dev_2.32.1.-1_win32.zip,
librsvg_2.32.1-1_win32.zip and
svg-gdk-pixbuf-loader_2.32.1-1_win32.zip from
http://ftp.gnome.org/pub/GNOME/binaries/win32/librsvg/2.32/.
Unzip those files and copy the contents to C:\GTK.
Any serious Dia development should use the latest sources from the GNOME Git repository: git://git.gnome.org/.
In case you don't know how to use Git or you don't want to use it, you can also use a source tarball from the Dia download pages.
![[Important]](images/important.png) | Important |
|---|---|
For the instructions of this tutorial to work, the Dia sources
should be located in |
Download http://downloads.sourceforge.net/dia-installer/dia_extra_src_msvc_2009-11-05.zip
and unzip the contents to c:\.
Download and apply the following patch: 0001-Bug-679417-Work-around-libpixbufloaders-.dll-install.patch
Using the Visual C++ 6.0 build environment (the section called “Install Microsoft Visual C++ Version 6.0”):
Starting from c:\gtk\dia, the
following commands are necessary to compile dia:
C:\GTK\bin\diadev.bat
cd \GTK\dia
nmake /f makefile.msc
In order to run dia sucessfully, the binaries have to be put in the correct file structure.
Copy an existing Dia for Windows installation to
C:\GTK\dia\build\win32. Delete the contents of
C:\GTK\dia\build\win32\bin and
C:\GTK\dia\build\win32\dia.
Run the following commands:
cd \GTK\dia
nmake /f makefile.msc full
Congratulations, you should now be able to run your copy of dia by executing C:\GTK\bin\dia.
Make sure to read the information provided by Hans Breuer and Tor Lillqvist, in particular the comments in the build files and the files named *.win32 in the glib, GTK+ and dia sources.
The archives of the dia and gimpwin-dev mailing lists may contain useful information.
If none of the above sources contain information to solve your
problem, contact the author of this document: Steffen Macke
<sdteffen@gmail.com>
The MS Visual C++ compiler is used to compile dia for win32. Versions 5, 6 have been used successfully. The compiler is invoked using the cl command.
![[Caution]](images/caution.png) | Caution |
|---|---|
When compiling with Visual C++ version 7, you'll have to
recompile all libraries as you'll have to link against
This also applies to newer Visual C++ versions. |
Compiling Dia for Windows with gcc from the MinGW distribution should be possible. However, compilation with gcc is not covered in this document. Make sure to check Dia's bugzilla for MinGW-related patches.
With the setup mentioned above, you should be able to compile
dia out of the box. However, you should know which
files control the build process. In addition to the various
makefile.msc's that are introduced below, there are
two important files:
$TOP\glib\build\win32\make.msc, included bymakefile.msc$TOP\glib\build\win32\module.defs, included bymake.msc
If you're working with updated versions of some of the libraries you may have to edit these files.
The cairo DLL (version 1.10.2) included in the GTK+ all-in-one bundle 2.24.10 has some bugs. See e.g. bug #679651. An updated cairo DLL (e.g. version 1.12.16) can be build using the openSUSE Build Service. You can branch the package to start your own development. When doing so, remember to add the windows:mingw:win32 repository via the advanced interface. This is necessary in order to locate libraries on which cairo depends.
Starting from a vanilla Ubuntu 12.04 deskop installation, you can install the necessary packages using the following command:
sudo apt-get install autoconf automake autotools-dev git git-core gsfonts-x11 \
intltool libatk1.0-dev libcairo-gobject2 libcairo2-dev liberror-perl \
libexpat1-dev libfontconfig1-dev libfreetype6-dev libgdiplus \
libgdk-pixbuf2.0-dev libgif4 libglib2.0-bin libglib2.0-dev \
libgtk2.0-dev libice-dev libltdl-dev libmono-accessibility2.0-cil \
libmono-data-tds2.0-cil libmono-messaging2.0-cil libmono-sqlite2.0-cil \
libmono-system-data2.0-cil libmono-system-messaging2.0-cil \
libmono-system-web2.0-cil libmono-wcf3.0-cil \
libmono-winforms2.0-cil libmono2.0-cil libpango1.0-dev libpixman-1-dev \
libpng12-dev libpthread-stubs0 libpthread-stubs0-dev libsm-dev libsqlite0 \
libssl-dev libtool libx11-dev libxau-dev libxcb-render0-dev libxcb-shm0-dev \
libxcb1-dev libxcomposite-dev libxcursor-dev libxdamage-dev libxdmcp-dev \
libxext-dev libxfixes-dev libxft-dev libxi-dev libxinerama-dev libxml2-dev \
libxrandr-dev libxrender-dev m4 python-sip python2.7-dev swig \
x11proto-composite-dev x11proto-core-dev x11proto-damage-dev x11proto-fixes-dev \
x11proto-input-dev x11proto-kb-dev x11proto-randr-dev x11proto-render-dev \
x11proto-xext-dev x11proto-xinerama-dev xtrans-dev zlib1g-dev libart-2.0-dev
Clone the git repository, for example:
git clone git://git.gnome.org/dia
Enter the dia directory and start the build process using the following commands:
cd dia
./autogen.sh
./configure --prefix=/usr --with-python --with-swig --with-libart
make
To install, run the following command:
make install
MacPorts can be used to compile Dia for Mac OS X. A readymade Portfile is available. The MacPorts documentation is great and contains everything you need to build Dia on your Mac.
When compiling 32-bit on a 64-bit-capable CPU, remember to set build_arch to i386 in macports.conf before the installation of any ports.
Sign the App bundle:
codesign -s "Developer ID Application" Dia.app